
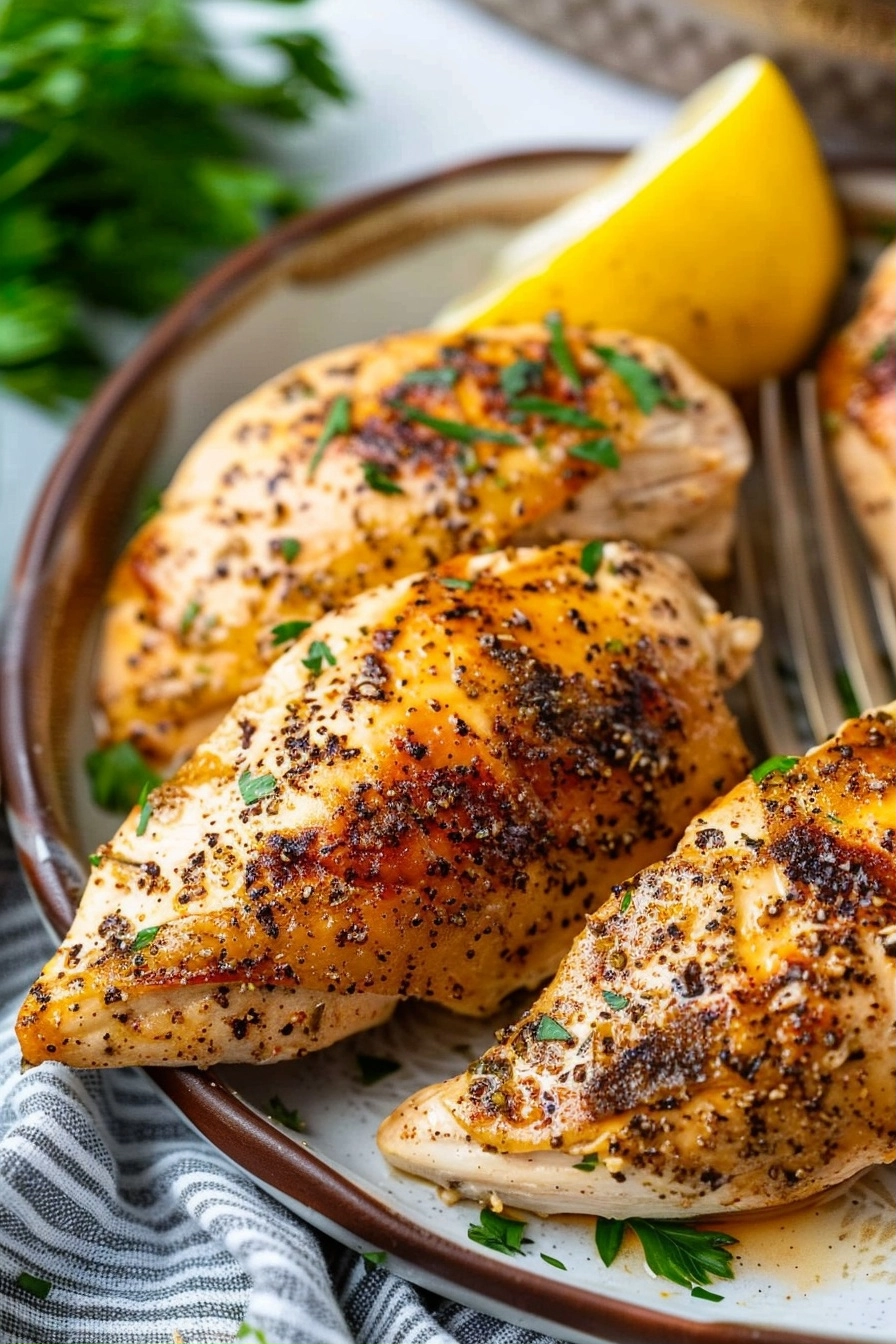
The Instant Pot chicken breast recipe is a reliable method for achieving perfectly tender, juicy meat in minutes. This approach transforms lean poultry into a versatile protein suitable for salads, wraps, or quick weeknight dinner plates. Utilizing a pressure cooker locks in moisture, preventing the common issue of dry chicken breast. Follow this tested technique to master poultry preparation for any busy weekly schedule.
Recipe Overview
| Prep Time | Cook Time | Total Time | Servings | Difficulty | Cuisine |
|---|---|---|---|---|---|
| 5 Minutes | 15 Minutes | 25 Minutes | 4 Servings | Easy | American |
Why This Recipe Works
This recipe consistently delivers superior results because the sealed environment of an electric pressure cooker retains natural juices that would evaporate in an oven. I rely on this method when I need a base protein for meal prep because it creates shredded or sliced meat with zero guesswork and minimal cleanup.
You will achieve consistent texture every time because the high-pressure environment penetrates the fibers of the chicken evenly. Unlike stovetop searing, which often leads to tough edges, the Instant Pot maintains a controlled climate that protects the delicate structure of the breast meat.
Ingredients
| Ingredient | Quantity | Notes |
|---|---|---|
| Boneless Skinless Chicken Breasts | 1.5 lbs | Use uniform sizes for even cooking |
| Chicken Broth | 1 cup | Substitute with water and a pinch of salt |
| Olive Oil | 1 tbsp | Adds moisture during the pressure cycle |
| Garlic Powder | 1 tsp | Adds savory depth without risk of burning |
| Onion Powder | 1 tsp | Provides a base flavor profile |
| Dried Herbs (Oregano/Thyme) | 0.5 tsp | Substitute with fresh herbs after cooking |
| Sea Salt and Black Pepper | To taste | Essential for balancing the natural flavor |
Step-by-Step Instructions
Preparation and Seasoning
- Rinse chicken breasts under cold water and pat them dry thoroughly with paper towels.
- Combine garlic powder, onion powder, salt, pepper, and dried herbs in a small bowl.
- Rub the spice mixture evenly across all sides of each chicken breast until fully coated.
Pressure Cooking
- Pour the chicken broth and olive oil into the inner pot of your pressure cooker.
- Place the trivet or steamer basket inside the pot to keep the chicken above the liquid line.
- Arrange the seasoned chicken breasts in a single layer on top of the trivet.
- Secure the lid and ensure the pressure valve is set to the sealing position.
- Cook on high pressure for exactly eight minutes followed by a natural pressure release.
Finishing
- Remove the lid carefully once the pressure pin drops to prevent steam burns.
- Transfer the chicken to a large cutting board to rest for five minutes.
- Slice or shred the meat using two forks according to your preference.
Chef Tips for Perfect Results
- Always use a meat thermometer to ensure an internal temperature of 165 degrees Fahrenheit for safety.
- Allowing a natural release of pressure for at least five minutes prevents the meat fibers from seizing up.
- Keeping the chicken on a trivet prevents the bottom from getting soggy or burning during the cooking phase.
- Letting the chicken rest after cooking is non-negotiable for retaining maximum juiciness at the table.
- Use room temperature chicken rather than frozen to ensure the most consistent texture throughout the cooking process.
Common Mistakes to Avoid
Overcooking remains the most common error that turns tender breast meat into a dry, chalky texture. Fix this by strictly adhering to the recommended eight-minute cook time for average-sized breasts. Using too much liquid can also mask the flavor, so keep the ratio balanced with exactly one cup of broth. Ignoring the resting period causes juices to bleed out when sliced, so ensure you give the meat time to redistribute its liquids. Skipping the trivet often results in uneven cooking, as the bottom of the chicken sits directly on the super-heated metal.
Variations and Substitutions
| Ingredient | Substitution | Impact on Flavor |
|---|---|---|
| Chicken Broth | Vegetable Broth | Adds a subtle earthiness |
| Dried Herbs | Fresh Lemon Zest | Adds a bright, citrus finish |
| Olive Oil | Avocado Oil | Provides a neutral, clean profile |
Serving Suggestions and Pairings
This tender chicken breast performs perfectly in a variety of meals. Serve it sliced over a Mediterranean quinoa salad for a healthy lunch. On busy nights, shred the meat and toss it into a bowl with fresh salsa and roasted vegetables. It pairs excellently with steamed broccoli, jasmine rice, or tucked into warm flour tortillas for a quick taco night.
Storage and Reheating
| Method | Duration | Instructions |
|---|---|---|
| Refrigerator | 3-4 Days | Store in an airtight glass container |
| Freezer | 2 Months | Wrap tightly in plastic and store in a freezer bag |
| Stovetop | 3 Minutes | Reheat with a splash of water over low heat |
Nutritional Information
Approximate values per serving.
| Nutrient | Amount |
|---|---|
| Calories | 185 kcal |
| Protein | 35g |
| Fat | 4g |
| Carbohydrates | 1g |
| Sodium | 320mg |
Frequently Asked Questions
How do I adjust this recipe for frozen chicken breasts?
You can easily adapt this for frozen chicken by increasing the cooking time to twelve minutes. Ensure the meat is not frozen into a solid block, as this prevents the pressure from reaching the center of the breasts.
What is the best way to determine when the chicken is done?
A digital meat thermometer is the most accurate way to verify that the thickest part reaches 165 degrees Fahrenheit. Trusting a thermometer is safer than relying on visual cues or color changes in the meat fibers.
Can I make this meal ahead of time for weekly preparation?
Shredded chicken prepared in the Instant Pot stores exceptionally well for up to four days in the refrigerator. Portion it into individual containers to make assembling your daily lunches fast and efficient.
Why did my chicken turn out slightly dry?
Dryness is almost always a result of a quick pressure release rather than a natural one. Always wait for the natural release to finish, as this allows the meat to reabsorb the cooked-out juices effectively.
What should I do if the chicken is undercooked inside?
You can simply return the lid and pressure cook for an additional two minutes on the high setting. This [fix](https://www.foodsafety.gov) is quick and ensures the meat reaches a fully cooked state without quality loss.
Mastering this instant pot chicken breast recipe provides a foundation for endless convenient meals. By focusing on proper timing and the natural release method, you ensure savory, high-quality protein ready for any occasion. Incorporate this technique into your routine to save time and eliminate guesswork in your kitchen. Enjoy the consistent, juicy results that define this reliable cooking method.
Ingredients
- 1.5 lbs Boneless Skinless Chicken Breasts
- 1 cup Chicken Broth
- 1 tbsp Olive Oil
- 1 tsp Garlic Powder
- 1 tsp Onion Powder
- 0.5 tsp Dried Oregano or Thyme
- Sea Salt and Black Pepper to taste
Instructions
- Rinse chicken breasts under cold water and pat them dry thoroughly with paper towels.
- Combine garlic powder, onion powder, salt, pepper, and dried herbs in a small bowl.
- Rub the spice mixture evenly across all sides of each chicken breast until fully coated.
- Pour the chicken broth and olive oil into the inner pot of your pressure cooker.
- Place the trivet or steamer basket inside the pot to keep the chicken above the liquid line.
- Arrange the seasoned chicken breasts in a single layer on top of the trivet.
- Secure the lid and ensure the pressure valve is set to the sealing position.
- Cook on high pressure for 10-12 minutes depending on thickness.
- Perform a natural pressure release for 5 minutes before venting the remaining steam.